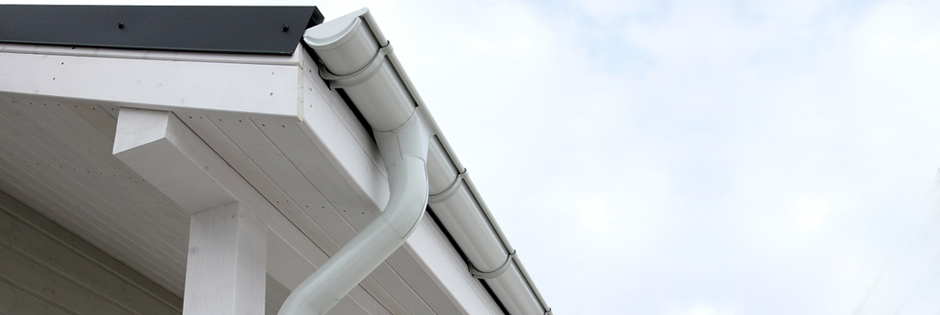
Fascia Board Replacement
Replacing a fascia board is a relatively straightforward task, but it requires attention to detail and the right tools to ensure the job is done properly. Here’s a step-by-step guide on how to replace a fascia board:
Tools and Materials Needed:
- Pry bar
- Hammer
- Tape measure
- Circular or miter saw
- Power drill or screwdriver
- Ladder (if working at heights)
- New fascia board (usually wood, vinyl, or PVC)
- Screws or nails (galvanized to prevent rust)
- Paint or stain (if wood is used)
- Caulking gun and exterior caulk
- Safety gear (gloves, safety glasses)
Step-by-Step Guide:
1. Inspect and Prepare the Area
- Assess Damage: Before removing the old fascia, inspect the area to determine the extent of the damage. Check if only the fascia board is damaged, or if the rafter tails or soffits need repairs too.
- Safety First: If the fascia board is attached near the roofline, ensure you use a sturdy ladder or scaffolding and take safety precautions.
2. Remove the Old Fascia Board
- Remove the Gutter (if applicable): If there is a gutter attached to the fascia board, you will need to carefully remove it. Unscrew or detach it using a drill or wrench.
- Loosen Fascia Board: Use a pry bar to gently remove the fascia board from the rafter tails. Start at one end and slowly work your way along, prying the board loose. Be careful not to damage any parts of the roof, soffit, or rafter tails.
- Inspect for Rot: Once the fascia is removed, inspect the underlying rafters for any rot or damage. If the rafter tails are damaged, these should be repaired or replaced before continuing.
3. Measure and Cut the New Fascia Board
- Measure the Old Fascia: Measure the length and width of the fascia board you removed to ensure the new board is cut to the correct size. Most fascia boards are 1×6 or 1×8 in dimension, but it can vary.
- Cut the New Board: Using a circular or miter saw, cut the new fascia board to the appropriate length and width. Ensure the cuts are precise to fit properly against the roofline.
4. Install the New Fascia Board
- Attach the Fascia: Position the new fascia board against the rafter tails. Use galvanized nails or screws to attach the board. Space the nails or screws about 12-16 inches apart, securing the board firmly to the rafter tails.
- Check for Alignment: Make sure the fascia is straight and properly aligned with the roof edge.
5. Seal and Finish
- Caulk the Seams: Apply exterior caulk along the seams where the fascia board meets the soffit or roof edge. This will help prevent water from seeping behind the board and causing future damage.
- Paint or Stain: If you’re using a wood fascia board, paint or stain it to match your home’s exterior. Use weather-resistant paint or stain to protect the wood from the elements.
- Reattach Gutters: If you removed gutters, reinstall them after the fascia board is secured and painted/stained.
6. Final Inspection
- Inspect Your Work: Make sure everything is secure and that there are no gaps between the fascia and the roof or soffit. Ensure the board is protected against future weather damage.
By following these steps, you’ll be able to replace your fascia board efficiently and protect your roofline for years to come.
Here at Dobson Roofing Ltd we have been repairing Soffits and Fascias since 1982 so if you have any questions or queries about facia board replacement or any other roofing queries don’t hesitate to get in touch.
